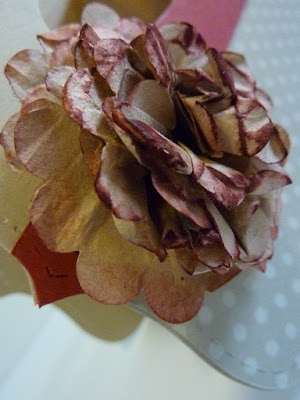
When a Stampin' Up! order is delivered (always exciting, even when it's not for me!) it is packed with layers of brown paper. This is what I have used to make my flower.
Punch out 8 flowers using the Scallop Circle Punch. If you are using DSP, six will do as it is thicker paper.
Screw up each flower to break down the fibres then smooth them out a little.
Layer the flowers on top of one another (not too neatly) and punch a hole in the centre with the 1/16" punch.
Insert a brad in through the centre. I like the rhinestone brads as they give a little sparkle to peek through.
Scrunch up the first flower layer around the brad.
Continue scrunching layer by layer until all the layers are scrunched around the brad. Notice that I have sponged the edges with some Cherrry Cobbler ink.
 Cup the flower in your fingers, face up, and using your thumbs, gently work the flower open, layer by layer, until the brad is revealed.
 I then dragged my flower upside down through the Cherry Cobbler ink pad to add colour to the edges of the petals. (Sounds very brutal!)
Check my next post for an idea of what to do with the Mini Lunch Sack tops.


No comments:
Post a Comment